MDF or Plasterboard - Perfectly Smooth
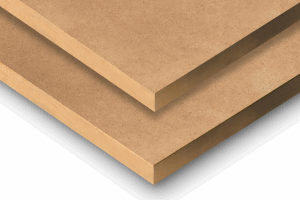
MDF Board
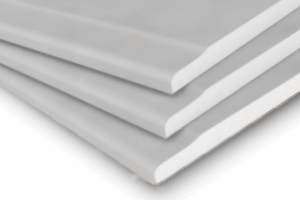
Plaster Board
MDF or Plasterboard - Perfectly Smooth
Either are perfect for an internal projector screen. MDF is recommended for frameless screens and Plasterboard is a lighter option for a framed screen,
which also hides the plasterboard cut edge. Just remember to use the central flat panel and remove the contoured edges we show here. Indoors only people.
Both can be cut down easily to your desired screen size. Your projector screen shoud be the same native aspect as the projector you have. One of the benefit's of Scream paint is the option for durable screens in high traffic public areas, where damage may
occur. In these high traffic areas one option is MDF for its strong composition. MDF is also perfect for a floating frameless screen to really impress.
Step 2 - Cut to Your Desired Size

Cut Projector Screen Down to Size
Cut Projector Screen Down to Size
Both are easy to cut, for a clean edge cutting with a circular saw and then edging with a plane router bit will give the results with MDF.
Plasterboard can be cut with just a saw. But, if your a danger to yourself with scissors, move away from the power saw. Maybe you need a friend to help.
Step 3 - Surface Preparation
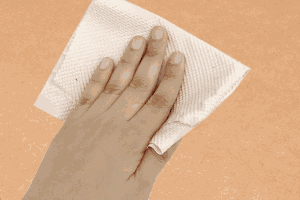
Clean Away Dirt and Dust
Clean Away Dirt and Dust
Before painting check the surface for dirt and dust. If necessary brush off and then wipe down MDF with Methylated spirits. It evaporates fast and leaves no residue.
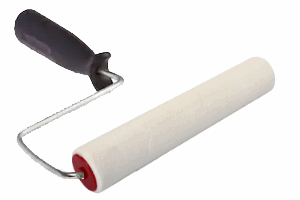
Weapon of choice - Gloss Roller
Weapon of choice - Gloss Roller
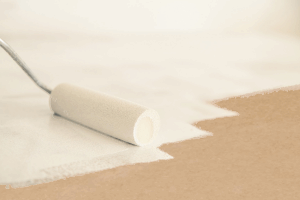
Scream is formulated to lay flat, a gloss roller (the cheapest) is preferable to wool and will smooth things along nicely.
First Seal the surface
First Seal the surface
This is a must do. Naked boards will suck up paint all day long, unless they are sealed. Warning: Do Not
paint Scream directly onto naked boards. First seal the substrate with a good water based sealer binder. MDF and Plasterboard are heavy drinkers, they may
need two or three coats. Leave the required time to dry, as stipulated by the manufacturer. Painting should be done on cool days
Add additional coats until the board is a solid white with no patches - this is Important Try not to over load the roller. It should rotate freely rather than skid over the surface. Unhurried
vertical strokes will avoid 'splatter' and should be finished off with a single vertical roll in one direction from the top of the screen to the bottom - for every coat.
Step 4 - Top Coat with Screen Paint

Finally Apply Screen Paint
Mix Well and Top Coat Your Screen
Mix your paint well start with a good shake and a stir. If it isn't mixed right it wont work right.
Using a new roller use the same technique as before. Imagine the surface divided into stripes and work systematically left to right over
the whole area. The aim is to apply the paint evenly and always work from a 'wet' edge. The edges need to be blended in to avoid leaving a ridge of paint.
Ideally try to roller at a cool part of the day, this will give you more time. On cool days you will be able to roller the whole surface left to right before
the paint begins to dry. On hotter days divide the screen in to narrower sections and complete each section as above.
On a sealed surface Scream will cover approximately 16m²/L
Hang her up, Job Done!